Do you know that there are folks who grow Muscadines and make wine from them annually? You’re probably thinking to yourself, how that’s what I am here for- to enlighten you.
If you have some knowledge about this, it is probably because you aren’t a newbie when it comes to making alcoholic beverages at home. Yet, it speaks well to take into consideration those who might not know; Now you nod your head in affirmation!
When it comes to winemaking at home, I’m no stranger, and the truth is, when you have a Muscadine, the first thing to come to your mind is making a wine (for experts though), surely after your reading this, the next time you lay your hands on a Muscadine, you’ll be restless until you make a wine out of it.
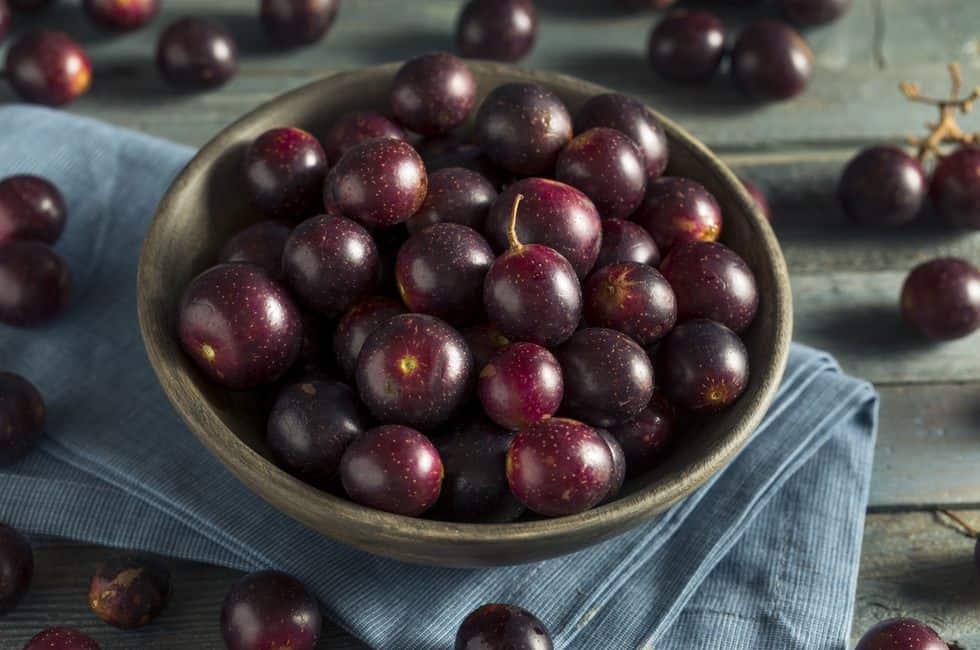
For those with zero familiarity of Muscadine, Muscadine is a type of grape native to the South Eastern US. When it comes to size, they are much larger compared to common table grapes, and they have much thicker skin.
Ever wondered why there is so much rush about Muscadine? Unlike most grapes at the grocery store that isn’t suitable for winemaking; Muscadine is appropriate and easy to come by, plus there are health benefits derived from it.
I’m taking you on a ride, a comprehensive one, yet I’ve prepared to add some unique, scarcely-found information to it. They include the muscadine wine recipe, the traditional Muscadine Wine recipe, Muscadine wine equipment and lastly, how to make Muscadine wine without yeast.
Also Check: Blackberry Wine Recipe
Muscadine Wine Recipe
As for the Muscadine Wine recipe, my recent experience that made the best outcome are these:
Fresh Muscadines. The method you have below wouldn’t work with dried Muscadines- why I stressed on new. The sweetness has the potential of changing the savor and fermentation process.
Yeast Nutrients. I’d advise you read the label, so you know how much is enough. It’s highly suitable for medium and high gravity beers.
Red Wine Yeast. You’d still have to read the packet manual on how much to use.
Campden Tablet. I’m not sure you will have this randomly laying around at home. But the function is to alter the growth of any wild yeast of bacteria. If you care to, you can apply it during bottling as an antioxidant so that staling could be prevented.
Pectic Enzyme. It can be used for ciders and fruit beers too. It does two primary jobs, clears the beverages and breaks down Pectic in fruit.
Potassium Sorbate. It works as a wine stabilizer or a wine stopper.
Granulated Sugar. You can choose to use 2.5lbs approximately 1.13kg or 6.5lbs. It all depends on the size of the gallon, the 6.5lbs is highly suitable for 27lbs of Muscadines, while the 2.5lbs will be sufficient for 3lbs of Muscadine.
Water. You should have sufficient water to top up the gallon you have.
There are those who still care so much about the traditional Muscadine Wine. Perhaps you do too, or you might have someone who needs to know more about them, here is the recipe:
Old-fashioned Muscadine Wine Recipe
Don’t be too quick to call this idea an irrelevant style of Muscadine Winemaking; it’s beyond that! This recipe makes for an old, sweet wine that’s common in the southern regions where it grows. The Muscadine grapes were cultivated in this region because of its warm and humid climate.
With that essential knowledge, here is the recipe for the traditional Muscadine recipe.
- Granulated Sugar. The quantity should be 6 cups.
- Mashed Muscadine Grapes. It should be 1 Quartz
- Active Dry Yeast. A packet will be sufficient.
- Filtered Water. 3 quarts of filtered water is required.
Of what good is a recipe if it lacks sufficient direction to prepare the desired product? Well, since it’s an old-fashioned style, it takes less time and effort.
Gather the recipe.
- Pour them in a sanitized gallon, and then dissolve the sugar in that water size.
Mash the Muscadine grape.
- Add 1 quart of the squashed fruit into the water and spread widely the dry yeast over the mixed fruit. But do not attempt to stir.
- Leave till the following day, then start the stirring. This can go on for weeks.
- After that, you will need to squeeze the liquid into another sanitized container possessing an airlock.
Fill, Strain, and Cap.
- After this, fill the Gallon with water. Give it some time, usually a period of 6 weeks for fermentation. Then strain once more and bottle in a clean container.
- Next, it’s time for capping. But use a very light one, enough to halt any form of fermentation. Then store the wine in a cool, dry place.
- Let’s have a look at some equipment required that we make available for the production of a Muscadine Wine?
Muscadine Wine Equipment
Rightly, some of this equipment gracing my mention may not be strange to you if you’ve made fruit wine before. But you know, advancement hits all facet of our life, and the last time I checked, some new ones are now replacing the archaic.
As a result, it makes sense to educate yourself and get set. It should be noted that all equipment is sterilized. You don’t just want to stand the risk of bacteria ruining your Muscadine Wine fermentation process, do you? Definitely not! Thus from the tiniest to the biggest, sterilized them.
- A large Funnel
- A large Muslin Cloth
- 6 Clear Wine bottles including fitted corks and corker.
- A 3ft long Vinyl Siphon Tube.
- A food grain basin
- 2 Plastic or Glass Demijohns.
- A fitted Airlock and Bung.
To prevent irritation of sensitive skin, as well as keeping track of your wine progress at each stage, you need these, respectively.
- Sterilized household runner glove.
- Hydrometer
- Acid Testing Kit.
With our complete recipe and equipment, we are all set. Now let’s get down to it step by step.
Making a Muscadine Wine- A step by step guide
Step I. Gathering the Muscadine Grapes.
Muscadine grapes are found in abundance during late July-late September, much to the extent that you can find them in supermarkets up and down the southern states of America.
Additionally, some farmers in the southern region offer a ‘U pick’ plan, where you can pick grapes for free in exchange for a free product. In recent times, this is still the cheapest means of getting the grapes. In your local town, there will be signs that tell if a farmer offers such.
Picking or gathering matters a lot. I advise you pick them an hour to the time production will begin. Moreover, make sure you choose your wine on a sunny, warm day which could either be in the late morning or early evening. But don’t forget, start the processing the day you pick. That’s how you get the best result.
Step II. Muscadine Preparation
To start, you must wash your grapes and wipe them from the vine. While you are cleaning, be sure that no stalk remains.
Then break through the rough part, I affirm this to be the toughest part of the job. There are four ways to get this done. But I’ll discuss the two most natural methods.
Freezing the Grapes. This is the easiest method of getting through the tough part. Although, it is not as fun as others (for lovers of fun though). Put your grapes in a bag and pop them in a refrigerator. After three hours- you remove because by that time, the skin would have cracked and that will enable you to defrost.
Freddy Kruger Method. You can apply Freddy Kruger method where you put the grapes inside a bowl and using three to four sharp-ended knitting needles, holding them between your fingers while you form a fist with it, pierce as many grapes as you desire at a go.
Step III. Begin The Cooking Process.
Start the boiling process, then after a few minutes, pour it into the water and allow it to cool. Then you should add enough sugar, and stir vigorously until it dissolves. As a reminder, be confident that you correctly mashed so you can get all the pulp as much as possible.
What’s next is fixing your straining bag over the upper part of your brewing bin, and pouring the grape mix right over the top. When it gets in, squeeze the bag so well, that you can be sure all the juice from the grape is out.
With your lightly murky dark red liquid in the bin, it’s time to pour in water and sugar. Stir in the yeast and yeast nutrients, then cover the brew bin and let it ferment for ten days- max, and a minimum of seven days. But ensure you stir every day.
How do you know if the fermentation has ended? A quick way is the disappearance of bubbles. Also with your hydrometer reading at 1.030, the fermentation has stopped. With your acid testing kit, which the user can start within the first 24 hours, your acid reading level shouldn’t be beyond seven p.p.t. Tartaric.
Step IV. Pour Into a Demijohn.
After one week of the first fermentation process has taken place, you would find out that there is a small quantity of foam on the surface and particles below, strain them still until they are out.
When you are done doing that, pour the wine into the demijohn. Then bring your funnel closer. Hold on! Can you pour without a splash on the ground? Figure out your expertise level there, I’d advise you spread something on the floor or place your demijohn inside a bowl. With the aid of your funnel, pour your wine inside the demijohn.
If the quantity fails to get to the neck of the bottle, top it up with filtered water and sugar. The water sugar ratio is 1:3.
Then, fit your airlock and bung right away. Place your demijohn in a cool, dry place for a minimum of three weeks.
Step V. Rack And Repeat
After three weeks, you should now have a well-looking wine, no bubbles, clean, and bright ruby red in colour. This time, racking begins- you want to move your wine from the first demijohn into the second demijohn.
I often suggest that you repeat this racking process so you can get an optimum result – no residual following the wine. Doing the racking process twice is ideal.
What you do is placing the first demijohn with wine gently on a flat table, if by chance it shakes, allow settling for hours. Then gently insert your siphon tube after you must have removed the bung and the airlock, lower the siphon tube until its a bit closer to the bottom of the jar.
Before you start siphoning, put the second demijohn on a flat surface on the ground, and then draw out wine on the other end until wine gets to your mouth, then immediately put that end into the second demijohn and allow filling up.
You can still add sugar and water to top it in the same ratio stated above. Well, after three weeks, you can repeat the process. And you move to the final stage where you bottle up.
Step IV. Bottle up.
The number of times you rack all depends on you, two to three time is highly recommended. Delighted with clarity and color of the wine, bottling can begin.
Your bottling process is similar to the racking process where you have your filled demijohn on the table, and your glass bottles are lined well on the ground.
Cork each bottle with a corker, and if you desire to, add a label that indicates when you bottled and the recipe you used.
And for the part that requires patience – maturity. Honestly, Muscadine Wine tastes better with age. Two to three years is ideal. Fact is it worth the wait.
But if you want to get a clue as to what your work has turned out to be, after six months you can open a bottle and drink, and keep it on a six month interval to verify the flavor and taste.
But there’s another option that most home winemakers loved to try out, that is making Muscadine Wine without yeast, let’s cap off this article with some of that knowledge.
How to Make Muscadine Wine Without Yeast
Yeast functions as a bacteria that enhances the process of fermentation, and when it comes to winemaking, it can’t be taken off. Although, that doesn’t stand to mean that there’s no way to go about it.
To get this done, get your Muscadine grapes, and then coupled with the steps I’ll be revealing below; you can make a delicious wine at home with no help of the yeast to bring out the alcoholic qualities you crave.
Step One. Wash the Muscadine grape well. The idea is getting rid of dirt (much has been said on this)
Step Two. Boil water in a pot, a gallon will be sufficient
Step Three. Pour the already boiled water over the grapes. Stir the constituents with a wooden spoon, and cover the bowl preferably with a towel.
Step Four. In a cool and dry room leave the bowl for ten days.
Step Five. Remove the towel at the end of the ten days, peel off and discard the mold that will form on top of the grape juice.
Step Six. Strain the liquid by pouring the muslin bag over the bowl and pour the juice through a cloth to another pan.
Step Seven. Add sugar to that strained Muscadine grape and stir for a minimum of 1 minute.
Step Eight. Pour into a wine bottle, cork and then leave for three months and sample the yeast-free Muscadine Wine.